EuroBerry Module
Hardware Project, 2024
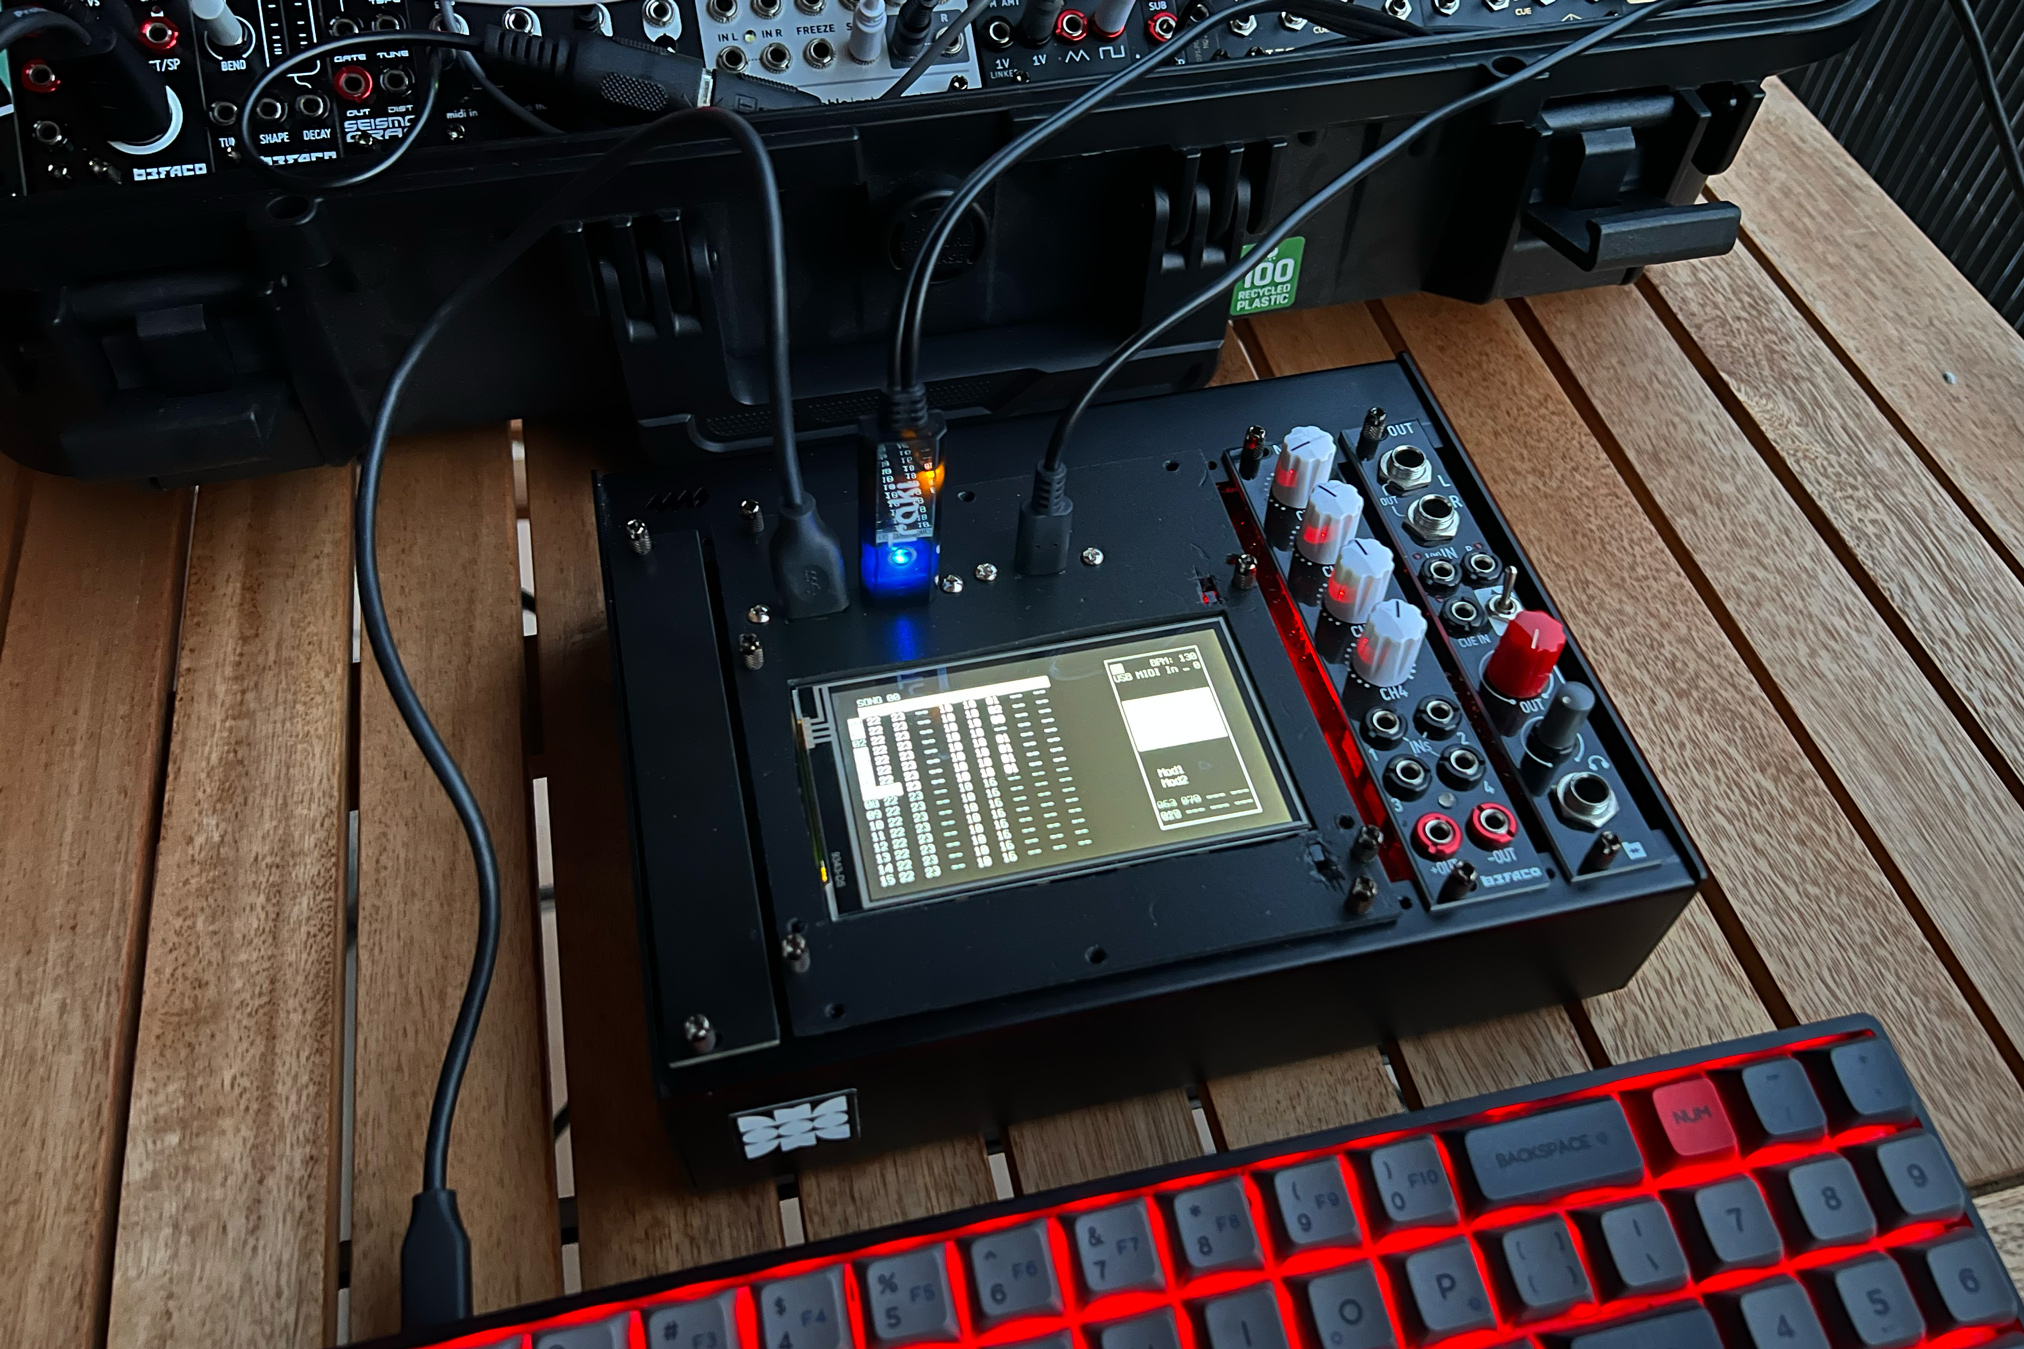
This documents my efforts to bring a RaspberryPi computer (using external power) in a Eurorack panel. This is based around my raspberryPi for ORCA project and extends this idea.
Table of Contents
- Setup 1.1 Hardware 1.2 USB to TRS-A Midi Mod 1.3 Patchbox OS 1.4 Raspberry Pi OS
- Recommended Software
- Part List & BOM
- Examples & Videos
Setup
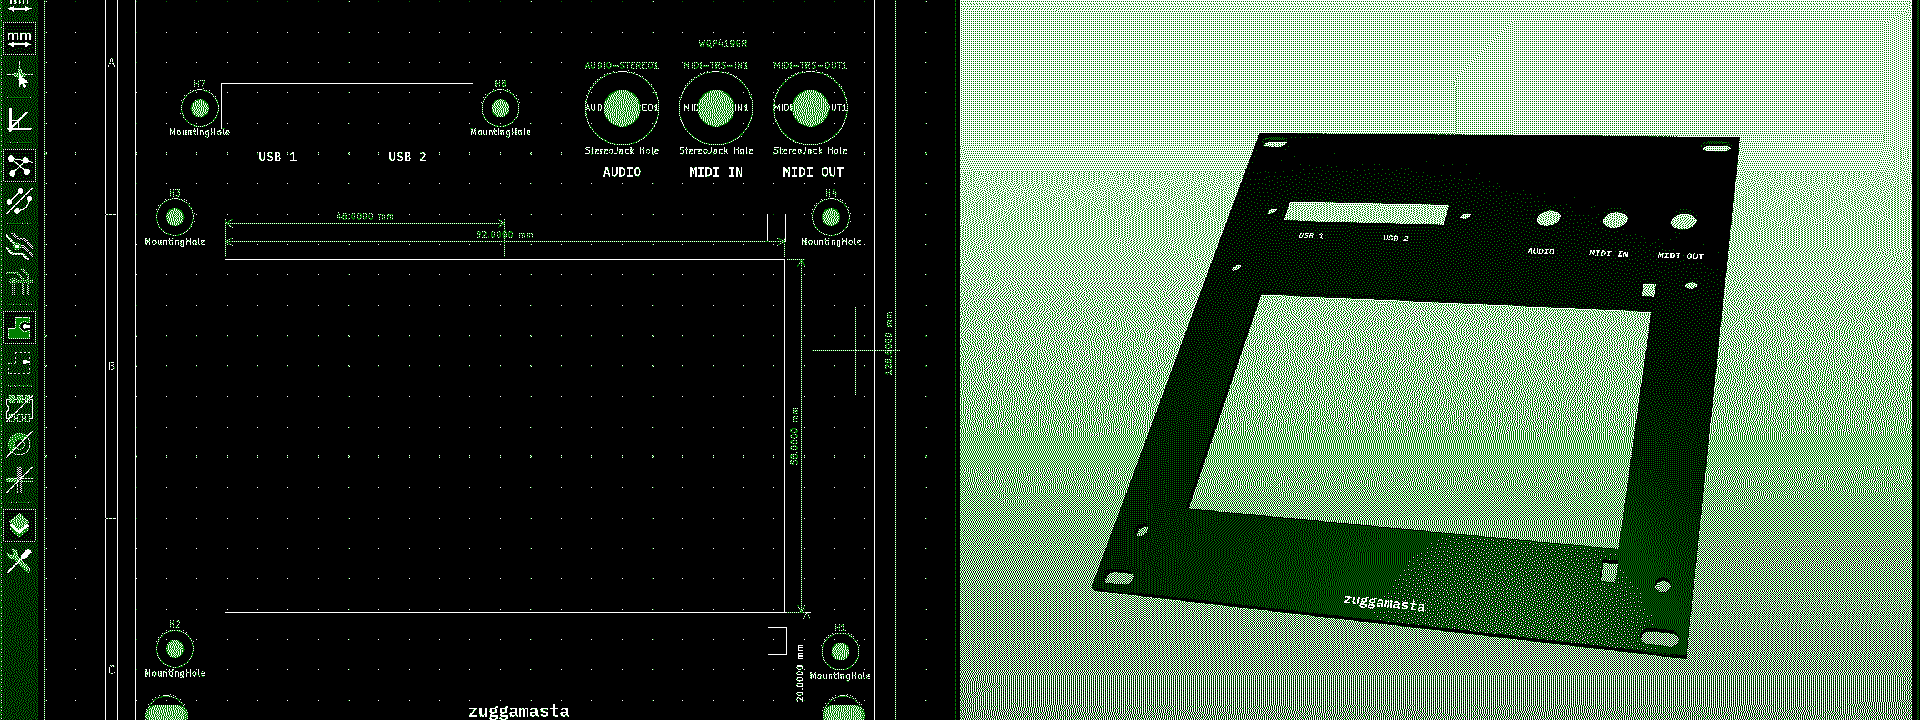
Hardware
You can find the Bill of Materials at the bottom of this page. If you’re only interested in using a RaspberryPi to send Midi signals you can skip the Hardware section and use your own configuration.
 Prototype panel made from 2mm hard foam.
USB to TRS-A Midi Mod
To move the USB to Midi device to the back of the panel, I modded soldered a 3,5mm TRS socket to the board of the device. The recommended OTraki device is perfect for this mod. The board inside the plastic shell has large output pads, which are even labeled. (Note: If you have much space in your eurorack case, you can also just plug in the adaptor and hide the long Midi cable inside the case. To each their own.)
The following is a step-by-step guide to performing the mod.
- 01 Remove the case: The welded plastic housing can be easily opened with a cutter knife.

- 02 Desolder the cable: The cable is soldered onto the PCB with regular solder that is easy to undo. I reccomend to heat one pad after another while gently pully on the respective wire.

- 03 Clean the pads: Make sure no solder bridges where created in the previous step. Each of the pads should look clean.

 O-  Sink    Tip
 O+  Source  Ring
  G  Shield  Sleve
in+
in-
- 04 Solder the jack: Next we solder the pads of the midi device to the TRS 3.5mm socket with a 3 wire cable.
Patchbox OS
I started to use Patchbox OS as it comes with some neat features built into the Image. One is the ability to use the WiFi Hotspot, enabled by default, to SSH into the device. But also the preconfigured JACK settings are a big plus. If you intend to do more audio processing on the PI there is also an experimental RT-Kernel available.
Patchbox OS Installation
- Download and etch Patchbox OS by Blokas to the SD card.
- Do the default setup procedure. You can log into the device without an external keyboard or display via the Default Wi-Fi Hotspot of this device. More about that can be found in the documentation.
- Patchbox OS comes with a setup wizard. And you will be asked to configure your JACK Audio setttings. If you are not using an additional soundcard the default settings for the built-in Headphone jack is are noted below. Other settings might bring JACK to crash.
device:             bcm2835_alsa
Sampling rate (-r): 44100
Buffer size (-p):   512
Period (-n):        3
- Setup the Raspberry Pi to work in landscape mode with our display. For that we will have to edit the
config.txtfile of the Pi. This can either be done with another machine by editing the file on the SD-Card or if you’re on the device via SSH:
sudo nano /boot/firmware/config.txt
# Use the kernel's default instead.
# disable_fw_kms_setup=1
- After we removed or commented out the line above we have to setup the display, for this we add these lines at the very bottom of
config.txt:
hdmi_group=2
hdmi_mode=87
display_lcd_rotate=3
display_hdmi_rotate=3
hdmi_cvt 480 800 60 6 0 0 0
- Leaving the nano editor is easy. To save these changes and quit use
ctrl+Xto exit, thenysave the changes, finallyenterto overwrite the original filename. The changes will be applied at boot. - After a reboot we are also going to set our font size to something that is more readable and works well with miditracker and ORCA-C. To do so we use the console-setup:
sudo dpkg-reconfigure console-setup
UTF-8
Guess optimal character set
TerminusBold
12x24 (framebuffer only)
- I disabled the telemetry that comes with Patchbox OS. I did this because I want faster boot times, but there are other reasons why you might want to do this step, too:
sudo systemctl disable --now blokas-telemetry.target
Raspberry Pi OS
Raspberry Pi OS is the official Operation system for the PI.
RaspberryPi OS
Recommended Software
ORCΛ-C a C-fork of ORCΛ esoteric programming language. For creating generative Midi or OSC signals.
HIDI a flexible HID to Midi translation layer for using keyboards and game controllers for musical purposes.
midiTracker my own Midi arrangement tool in the style of older Music Trackers which is exactly made to fit this device.
krait a free running Midi looper with a minimal interface and a very fun way to create drones, phase music and other unconventional arrangements
Part List / BOM
| Amount | Part | Image |
|---|---|---|
| 1× | PCB panel | |
| 1x | Wires for soldering | |
| 1× | Raspberry Pi 3b or newer | 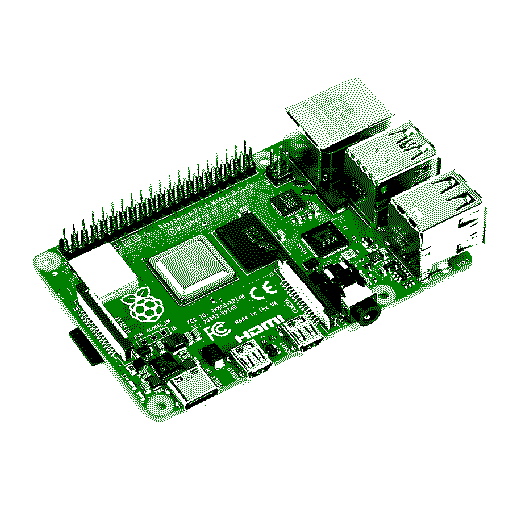 |
| 1× | Raspberry Pi USB power | 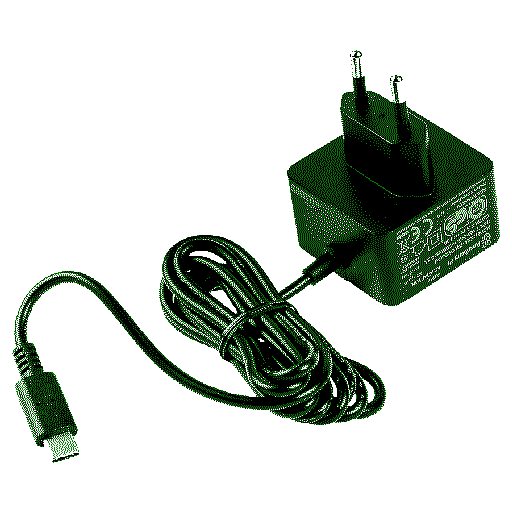 |
| 1× | Waveshare 4" IPS display | 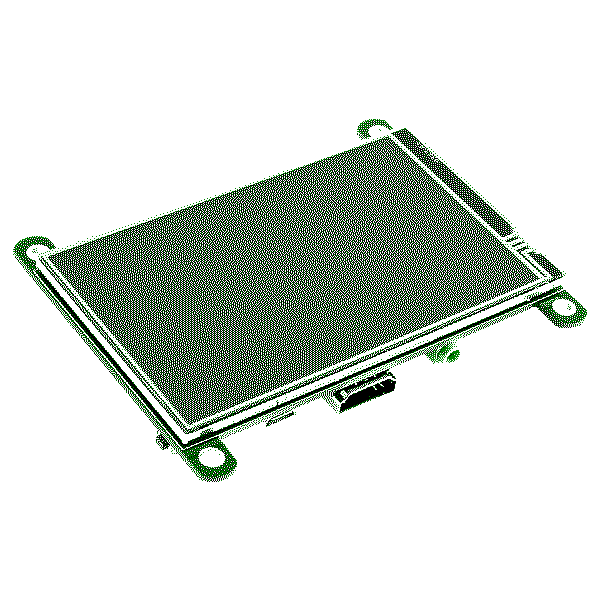 |
| 1× | Panel mount USB jacks | 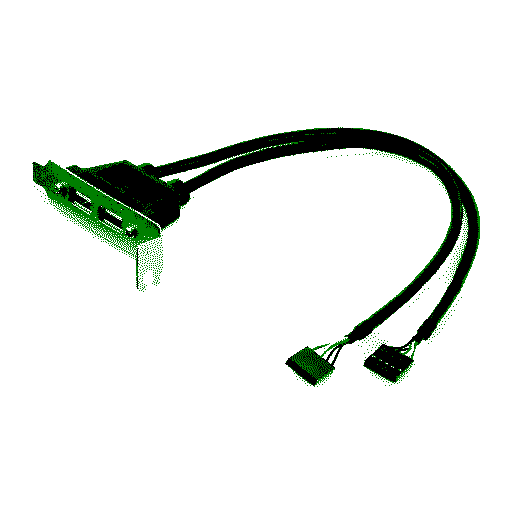 |
| 1× | Panel mount USB C extension | 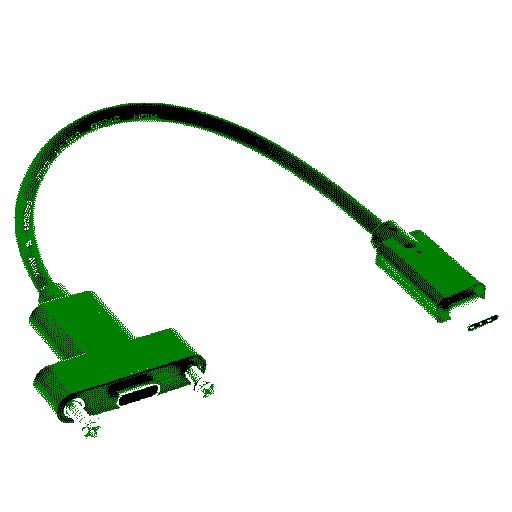 |
| 3× | USB plugs with solder leads |  |
| 1× | USB jack with solder leads | 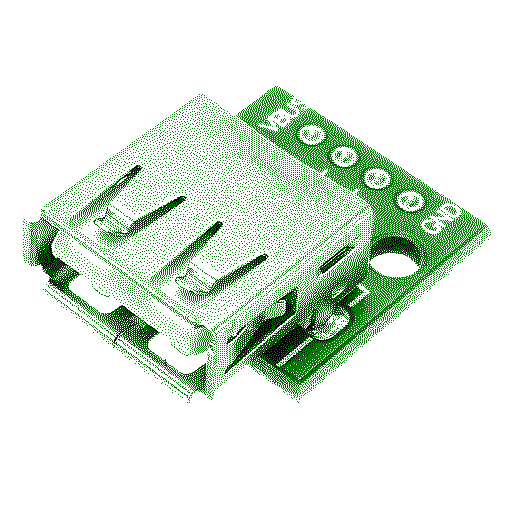 |
| 1× | USB 2 Midi | 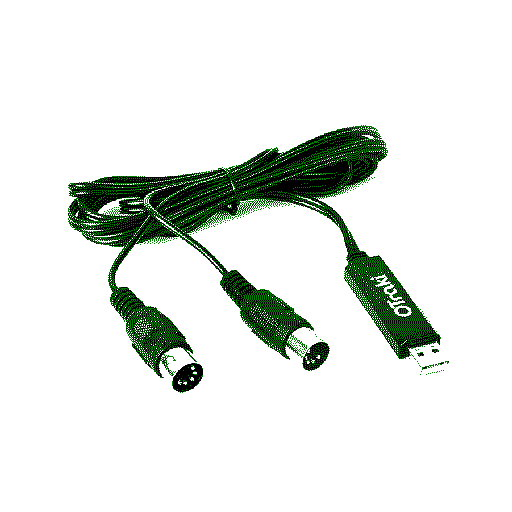 |
| 1x | Thonkiconn Stereo WQP419GR or PJ3410 Stereo | 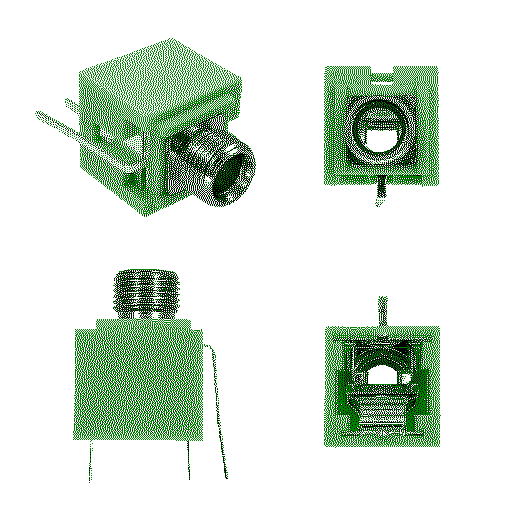 |
| . |
Examples & Videos
TBD